The following steps are showing how I did setup my wireless connection with an static IP on my ArchLinux driven RaspberryPi. You need to have installed sudo to uses this instructions:
- Update all packages:
$> sudo pacman -Syu
- Install dialog package:
$> sudo pacman -S dialog
- Install wpa_supplicant package
$> sudo pacman -S wpa_supplicant
- Run wifi-menu:
$> sudo wifi-menu -o
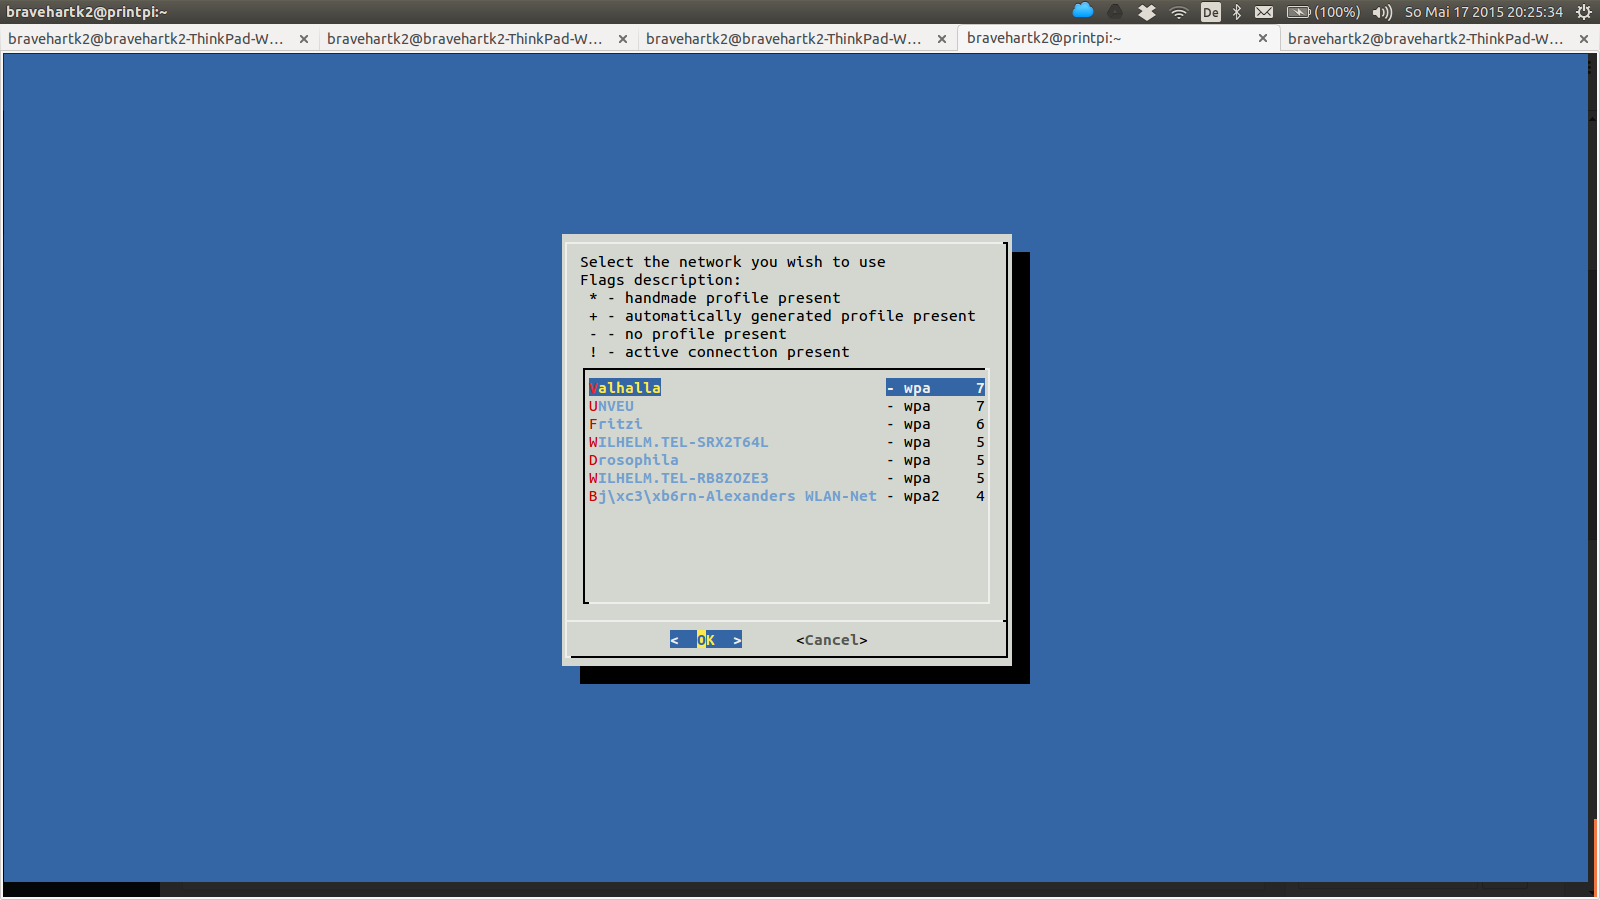
This will start the Wifi-Setup dialog.
- Select your network:

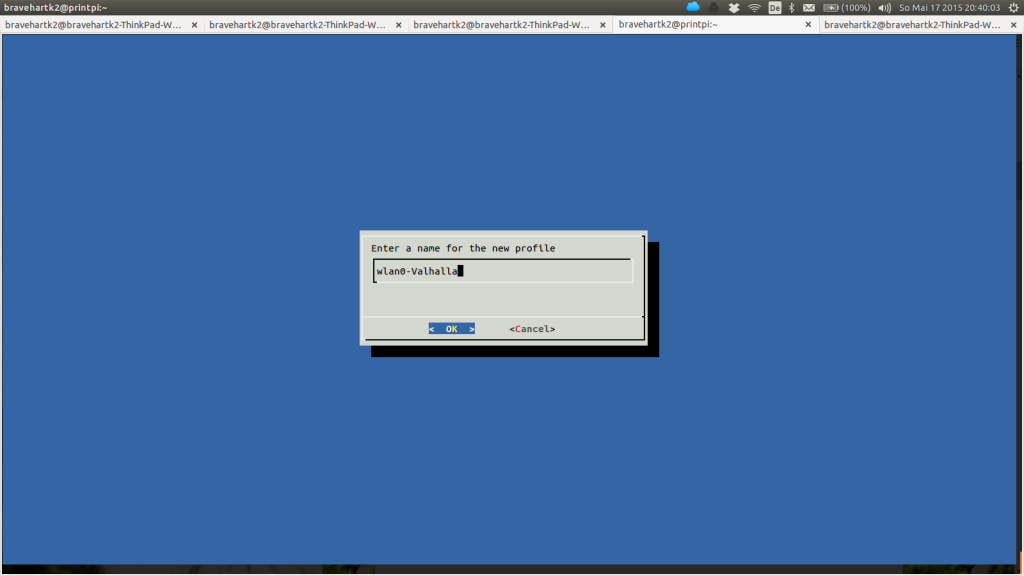
- Choose a name for the profile:
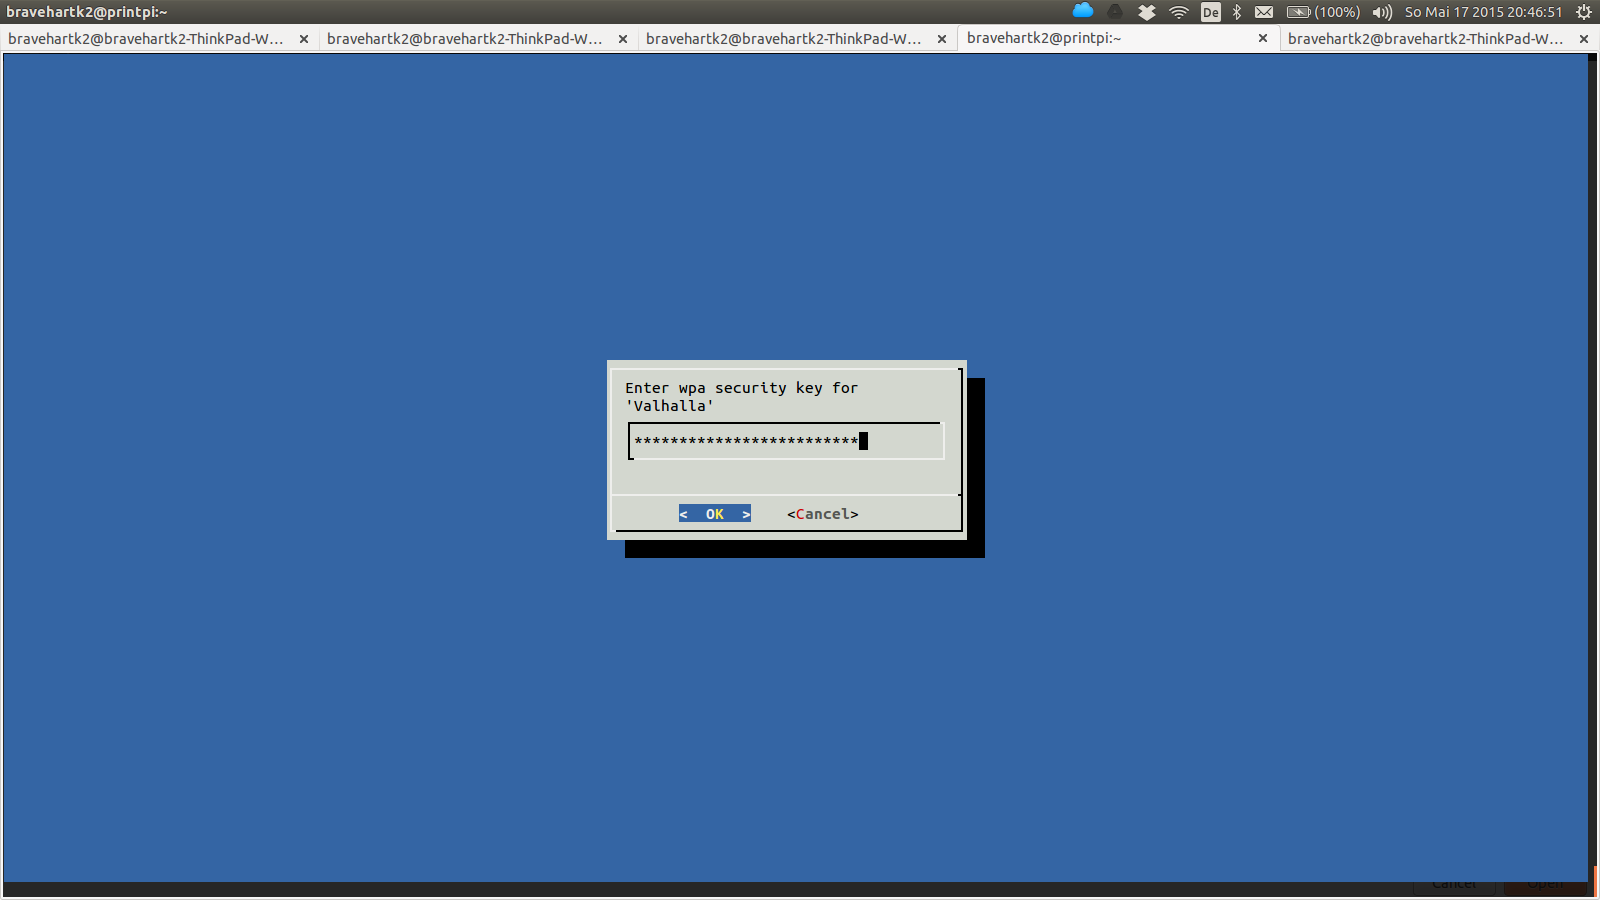
- Insert Wifi password:

- The dialog will close automatically.
- Edit the generated config file (/etc/netctl/YOUR-ENTERED-PROFILE-NAME):
$> sudo nano /etc/netctl/wlan0-Valhalla
- Set IP-type static, IP-Address, Gateway and DNS server like this:
Description='Valhalla at home'
Interface=wlan0
Connection=wireless
Security=wpa
ESSID=Valhalla
IP=static
Key=\"aaddggeeejjenneggtssskkkekddwsdsaduawvwddvgvdgvasdg
Address=('192.168.1.4/24')
Gateway=('192.168.1.4')
DNS=('192.168.1.1')
The relevant lines are:
– IP=static
– Address=(‘192.168.1.4/24’)
– Gateway=(‘192.168.1.4’)
– DNS=(‘192.168.1.1’) - Now you can enable the profile, so that your pi starts with it:
$> sudo netctl enable wlan0-Valhalla
$> sudo netctl start wlan0-Valhalla
- Reboot the system:
$> sudo reboot

The blogpost Setup an static IP on Arch Linux shows how to setup a static IP for ethernet connections.
Hi there! I just wish to offer you a big thumbs up for your
excellent info you have here on this post. I will be returning to your web site for
more soon.